I wasn't sure the two fabrics I showed the other day would work together, but they blend very well because of the aubergine colour fabric they are adhered to.
So that is the fabric. What will it all be for? Why not a Dragon?
Here are steps the dragon went through to be what I had in mind.
I am not that good with drawing imaginary animals bodies. So, here is an example of how I make it work.
I start with a copyright free image from someplace like my Dover Publications Dragon book. An image that has the creature in a position near to what I have in my mind.

Then I enlarge. And start manipulating the image...so far I do it by chopping sections apart and doing things like making a neck longer or a body bigger. (Now that I have a Wacom Tablet for Christmas, I am hoping I can do these things on the computer.)

I do this till I am nearly happy.

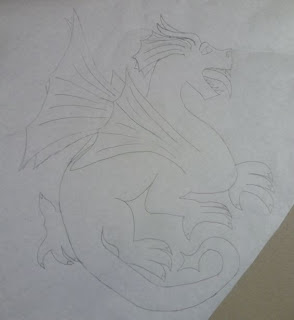
Then trace it out onto plain paper so I can get a better idea of the whole.

This is where I fine tune it. sort out a claw or smooth out a kink in the tail. adjust the wings. extend the 'ear wings' and discover he wanted to have horns.

All to make it look more natural. "If it did exist, would it be able to function in this form?"

Then I lay the dragon onto the fabric and adjust the strips so the dragon can be cut from it. I had to shorten some of the strips where the width wasn't needed and use them to extend the strips where it was needed.

And then fuse the strips down and prepare to cut out the dragon image. Because it was freezer paper, it can have a temporary hold enough to keep pattern on fabric while it is cut out.
Hopefully more steps tomorrow.
2 comments:
Look forward to seeing him emerge.
Thank you for sharing your creative process! I loved the evolution of the dragon---and an improvement over the original.
Post a Comment