This is a moaning post, please ignore. 🤪
When the porridge boils over.
3weeks into c-virus quarantine-
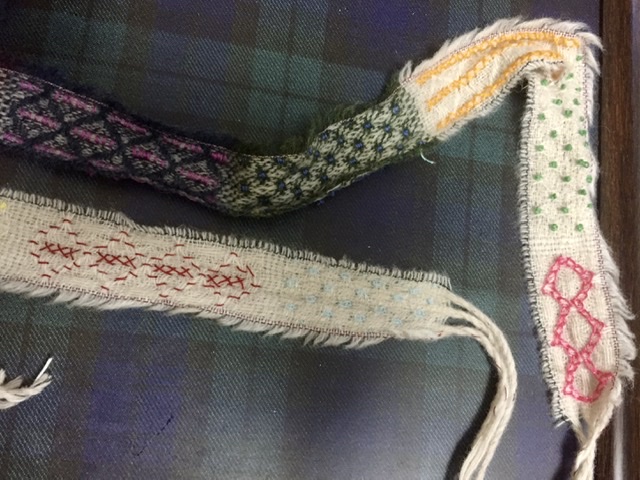
I will post some photos soon. I am quite busy with a project. And just somehow lacking motivation when it comes to posting.
I hope you are muddling along where you are.
I guess we find ourselves looking at what others are doing, how they are managing their new situation, and it is easy to get caught up in that.
For Instance, in my case I already stay at home working to deadlines and trying not to be overcome by fibromyalgia.
And now my changes seem to be the reverse of others who are excited about having extra time and now we have a blossoming of free workshops and challenges that I would be glad to take part in. But I have already got a schedule to work to and tasks to complete.
And people are finding the leisure of having space/time to make, but I have one scientist and one technical author working from home...in my space. So, my quiet thinking and solitary working is invaded somewhat. Yes, sounds a bit selfish, but adjustment required. Questions to work through, am I on call all day? Closing my studio door seems to invite more interruptions than leaving it open! I am glad they have both settled in ‘offices’ upstairs.
More effort is required from me to feed three, than if it is two of us. ( one still needing all of whatever it is that weight fitness demands.) Why do ‘simple’ pressure cooker stews, And even bolognese ;etc take an hour just to do the chopping?. I come to the dinner table in severe pain just from 1-2 hours making food!
But...still,
-I can look at the pictures of other work while continuing to do my own.
-Very grateful for some kind of harmony here that hasn’t necessarily been easy to find at other times. We even agree on evening television viewing!
-And I don’t need to stand in queues for shopping because the Thoughtful Man does that. I just have to write the correct thing on the list.
-Also, the weather has improved, so I can choose to eat lunch in the garden or maybe even today go out there to do the hand stitching needed for the project.
So really, it is not so bad! Perhaps being outside is the answer. I am tired of breathing the same air!
Apologies for unloading here.
At least I haven’t got the responsibility for 45 people in lockdown, most of them children, most of them under 8, with a leopard and a python hanging about! 😱 This is the situation for my friend, Karin in Ethiopia.
Perspective
And so, I am off to get some progress with this project.