So, I had this black fleece with a hood. It was a pullover. The only reason I got it was because I had to have an MRI and needed something without metal on it. and as the appointment was at 7:00am, I knew I would need something warm.
Here is what it looked like on.
Flattering - not!
So, keeping in mind I may need another MRI at some point, I decided to make it so I could actually use it this winter, but keep metal off of it.
I had some lovely tartan blue/green/purple fleece, so I cut a strip from it. Then I cut the fleece open to make it more like a cardigan, I removed the edging from the neck and hood part...just cut it off. Then covered the edge with the tartan fleece. It had a kangaroo pocket, but I had chopped right through it, so putting the edge on, closed it up on both sides.
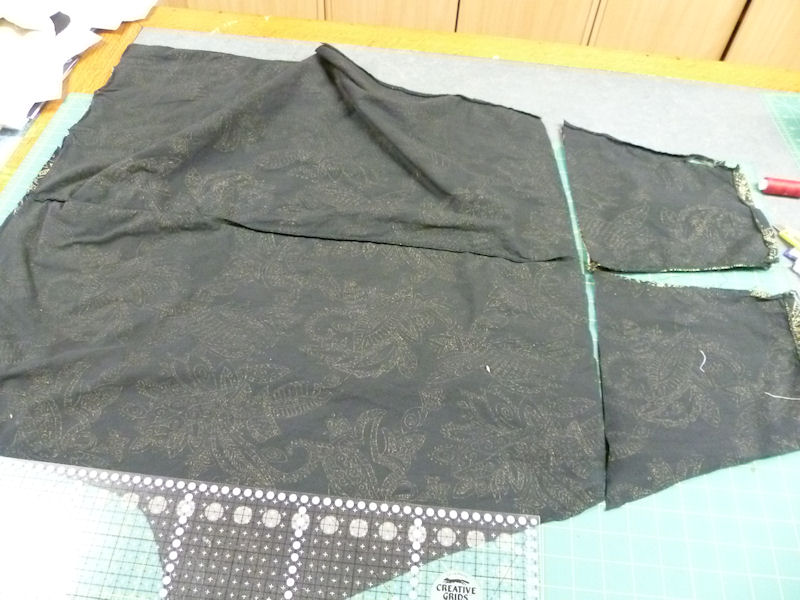
Then tried it on. Okay, long arms. But, it was mostly because the shoulder was too big. So I pinned where my shoulder was, took it off and added about 2cm more to that for shoulder length. Then I cut it up from the point where you would generally find the front notch, but through both layers. you can see that it has removed a wedge.
Then I cut the wedge off, and inserted a folded strip - like flat piping. Here is the strip pinned in,
and the result of it stitched into the shoulder.
I had a bit more strip left, so I put it on the edges of the pocket.
The arms were still slightly long, so I chopped off the hem that was there, and bound the edge with more of the the tartan fleece.
And here I am! Much happier. It is warm and the black doesn't make me look like death warmed up.
I cut a few scraps into squares and stitched them on the front for decoration.